Introduction to Svelte Stores
Learn about how Svelte offers a store that can help in bringing the reactivity of something like RxJS for our data and it is very simple to get started.-
 Sriram Thiagarajan
- November 13, 2021
Introduction to Svelte Stores
Client-side applications are getting complex and the user expects things to happen in real-time. This means that the state management of our application plays a major role in defining the user experience. Svelte offers a store that can help in bringing the reactivity of something like RxJS for our data and it is very simple to get started.
What is a store?
A store is a place to put your data and get access to that data from multiple components. Since Svelte makes it easy for this store to be reactive, it is easy to subscribe to these values and update the component UI when there is a change in data by a different component.
The previous paragraph might be too abstract. Let’s get into an example to understand the concept of stores.
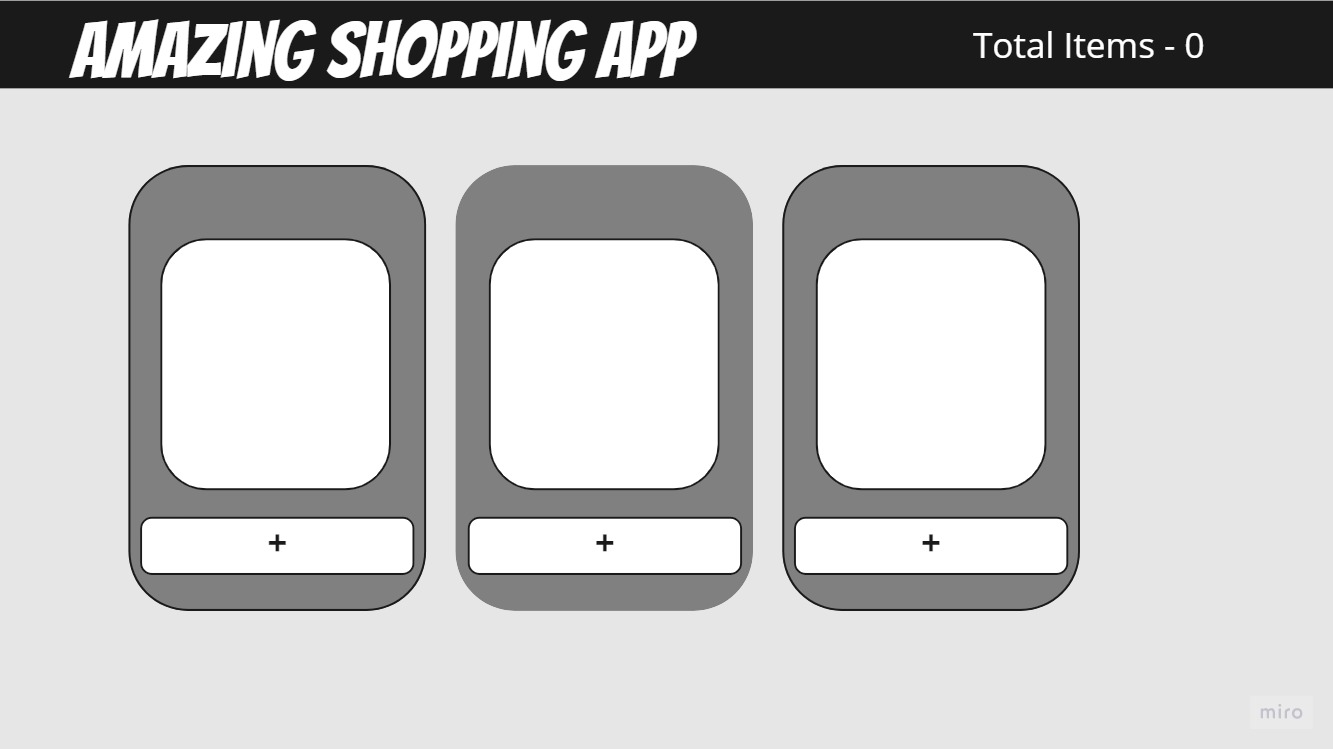
Let’s assume, we have an amazing shopping app where we are displaying a list of items for the user to add. The app might be split into multiple small components like below
- Navbar (with total items)
- Content page (List of shop items)
Now, when the user clicks on the + button in the item, the app needs to update the total items in the cart in the Navbar. So you will require some way to communicate between the two components. This can be achieved by passing an event up to the parent but that is not an ideal solution. So we get to the concept of stores in Svelte.
The data of the cart is stored in the Svelte store and any component which needs access to that data can subscribe to the data and get notified when the data changes.
Creating a simple store in svelte
Svelte allows you to define your store and import them into your component as needed. You can create a custom store as well which should have a subscribe method that takes in a function and calls that function when the value changes. This gives a lot of flexibility as you can add more abstraction on top of your stores to allow the components to only call methods instead of directly changing the store values
Enough talk, let’s create a simple default store that will just store the count of the shopping cart items. Create a new file called store.ts and add the following
import {writable} from 'svelte/store';

export const cartItemCount = writable(0);
We are creating a store variable cartItemCount and assigning zero as the initial value. writable from svelte means that the store can be updated by any of the components. There are three types of inbuilt stores from svelte. You can define your custom store if needed.
- writable - Allows for both update and reading the value
- readable - Allows for only reading
- derived - Value of this store depends on other stores. (We will use this in a future post)
Reading and display value from the store
Once the store is defined, you can read from the store and display the value in the component. Let’s update the App.svelte file to import the store and display this value at the top of the navbar.
This tutorial uses TailwindCSS and Vite Svelte setup. You can mostly ignore the CSS classes which are just meant to make the app look decent. If you want to do the same setup, you can check this post. https://www.eternaldev.com/blog/svelte-with-vite-and-tailwindcss/
There are two ways to do this. First is a long way which will help us understand what is going on. The second way makes it much easier and svelte provides a nice shortcut to help with the developer experience
The first way - We can subscribe to the store in the OnMount lifecycle method and unsubscribe in the OnDestroy lifecycle method.
<script lang="ts">
  import { cartItemCount } from './store';
  import {onMount, onDestroy} from 'svelte';

  let cartItemValue;
  let storeUnsubscribe;
  onMount(() => {
    storeUnsubscribe = cartItemCount.subscribe((val) => cartItemValue = val);
  })

  onDestroy(() => {
    if (storeUnsubscribe) {
      storeUnsubscribe();
    }
  })

</script>

<main class="min-h-screen bg-gray-200">
  <div class="flex items-center justify-between bg-black text-white p-5">
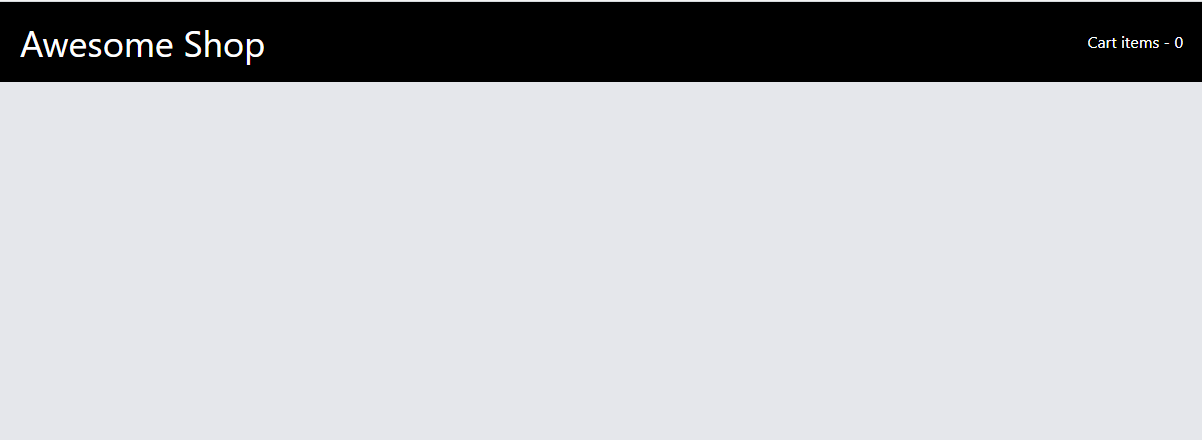
    <h1>Awesome Shop</h1>
    <p> Cart items - {cartItemValue} </p>
  </div>
</main>
Let’s break down the above code.
- Import the store in your component
- Adding the lifecycle methods
onMount- Gets called when the component is initialized. So we can subscribe to the store and get the value and set it to our variablecartItemValue. Since we are subscribing, any further update to the variable call the same function to set the new value tocartItemValueonDestroy- When the component is removed, we no longer need the reference to the store and we need to unsubscribe. The subscribe method returns a function and we have stored it instoreUnsubscribevariable. So we can just check if that is defined and call the function to unsubscribe and clean the memory.
Fortunately, the Svelte team recognized that this might be considered a lot of boilerplate code to use the store in your component, so they have a shortcut that will do the same thing in the background.
We can use the $ symbol in front of the store variable and it means that subscribe and unsubscribe are taken care of when Svelte converts your code to Javascript which is a great time saver and nicer to read.
<script lang="ts">
  import { cartItemCount } from './store';

</script>

<main class="min-h-screen bg-gray-200">
  <div class="flex items-center justify-between bg-black text-white p-5">
    <h1>Awesome Shop</h1>
    <p> Cart items - {$cartItemCount} </p>
  </div>
</main>
The above code has the same exact behavior as the previous one with less code to write. Awesome right!!
Updating store value
Following our earlier example, we will create a separate component for updating the store value. Create a new file called ShopItem.svelte and add the following code.
<script lang="ts">
	import {cartItemCount} from './store';

	const onAddItem = () => {
		cartItemCount.update(count => count + 1)
	}
</script>

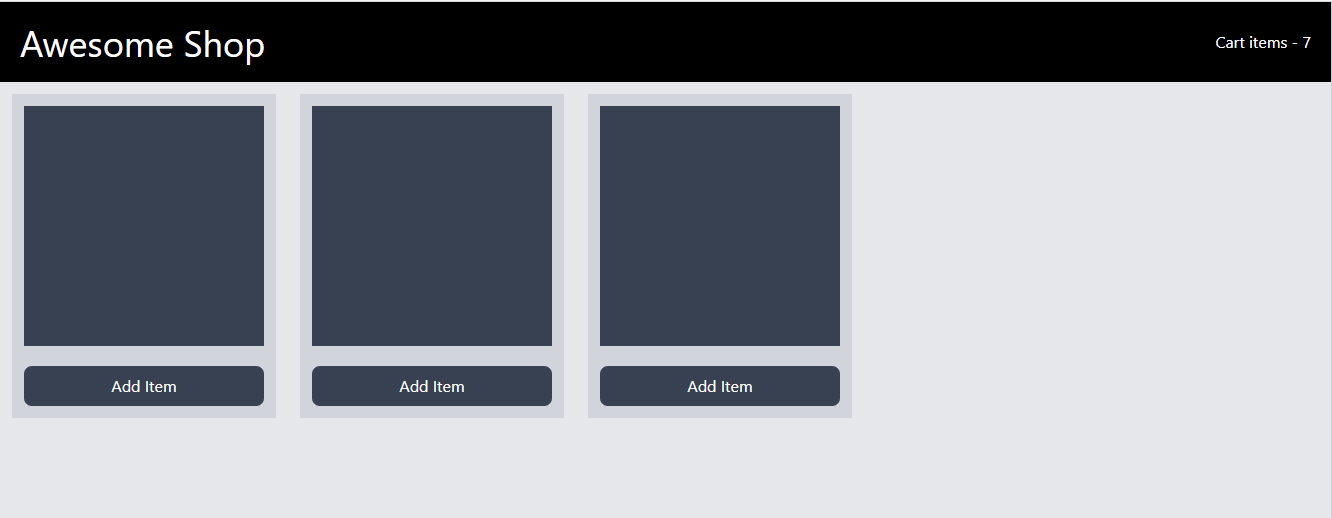
<div class="p-3 m-3 bg-gray-300">
	<div class="card w-60 h-60 bg-gray-700"></div>
	<button class="p-2 mt-5 w-full bg-gray-700 text-white rounded-lg" on:click={() => onAddItem()}>Add Item</button>
</div>- As usual, we import the store at the top.
- Create a method call
onAddItemand update the store variable inside the function. We will have the current value of the store in the first argument and then we can change it accordingly. We are going to increment the count by one every time the function is called. - Create a button and add an
on:clickto the button and call ouronAddItemfunction.
That’s it. We will be able to see that value in the Navbar automatically getting updated at the click of the button.
Conclusion
Stores in svelte are a really powerful feature that can be used to create a nice modular component and still maintain good reactivity in the application. Hopefully, this simple example will get your gears running on how to use the store to accomplish state management in Svelte.
