Svelte Basics - Introduction to Svelte - Part 1
In this introduction post about Svelte, learn the basics of Svelte. Learn through practical examples in this post and get a good understanding of Svelte for your next project.-
 Sriram Thiagarajan
- March 20, 2022
Svelte Basics - Introduction to Svelte
Svelte is really interesting and can be quick to learn as it contains nice design patterns and developer-friendly features. Learn through practical examples in this post and get a good understanding of Svelte for your next project.
Create a new svelte app
There are multiple ways to create a svelte project depending on which frontend-tool system you prefer. If you are just starting out and don’t know what to choose, you can choose Vite as it is much faster than Rollup. Although, official docs still point to the rollup method.
Create a new svelte app with Rollup - Option 1
You can create a new svelte app by following the official documentation and initialize the app using rollup
npx degit sveltejs/template my-svelte-project
cd my-svelte-project
npm install
npm run dev
Create a new svelte app with Vite - Option 2
You can also create a svelte app using Vite. You can learn more about the difference between the tool in this post.
https://www.eternaldev.com/blog/build-and-deploy-apps-with-svelte-and-vite/
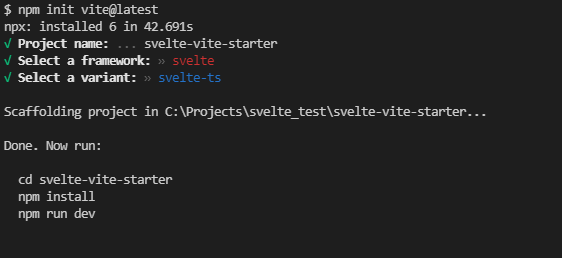
npm init vite@latest
cd [project-name]
npm install
npm run dev
Create a new component in svelte
You can create a new component just by creating a new file called your_component.svelte inside the src folder. svelte components can contain all the three things which are necessary to create a component
- HTML Template (Browser readable and hierarchical structure of element)
- JavaScript (Script which runs in the browser to make the page more dynamic)
- CSS (Styling for the HTML elements to change font, color, and backgrounds)
<!-- HTML Template start directly--->

<script>
	<!-- All Javascript goes here --->
</script>

<style>
	<!-- All CSS goes here -->
</style>
As you can see, this is easy to maintain as all of the component code exist in a single file.
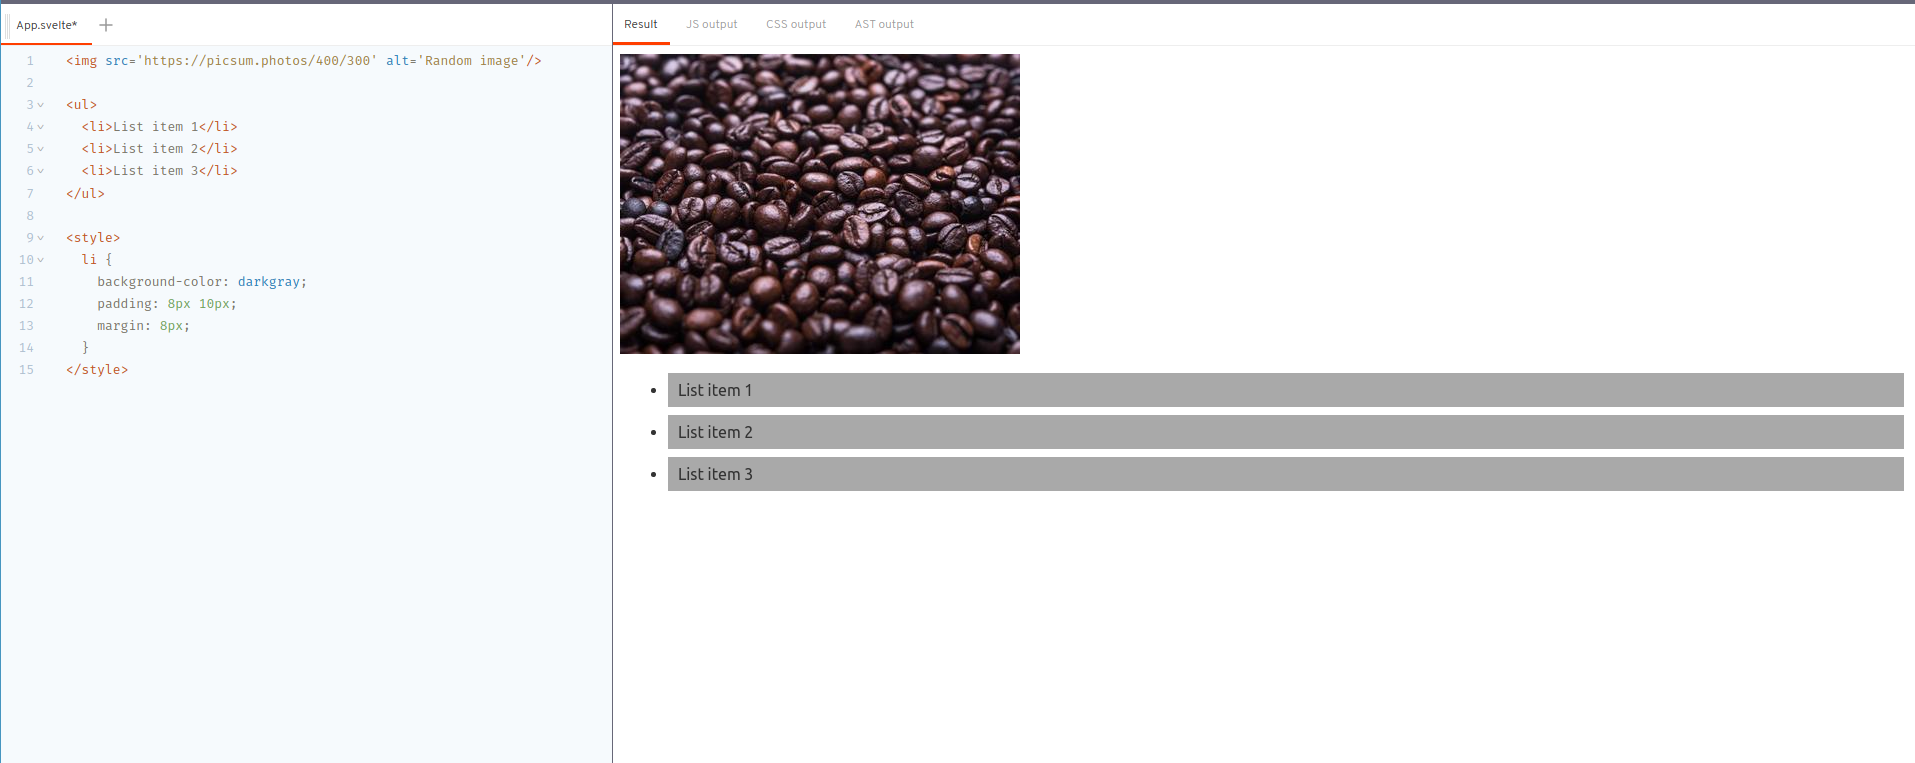
Example of a simple Svelte component
<img src='https://picsum.photos/400/300' alt='Random'/>

<ul>
	<li>List item 1</li>
	<li>List item 2</li>
	<li>List item 3</li>
</ul>

<style>
	li {
		background-color: darkgray;
		padding: 8px 10px;
		margin: 8px;
	}
</style>
We are creating a component using simple HTML elements like img, ul, li tags. We can add style to this component using the <style> tag and svelte add those CSS styles to the elements. CSS properties are scoped locally to the component. Don’t worry if you don’t know what that is, we will cover that in the post at the end.
Nesting components in svelte
Nesting components in Svelte REPL
We can nest multiple components inside another Svelte component. This is how your app will be built. You can have multiple smaller components nested inside another big component. For example, you can have a profile component that will consist of multiple components like NameCompenent, AgeComponent, GenderComponent, and so on.
Let’s create a new file called AgeComponent.svelte
<h2>Age is 35</h2>Now that the component is created, we can add it to the main component by just importing the component and adding it to the HTML
<script>
	import AgeComponent from './AgeComponent.svelte';
</script>

<h1> Your name</h1>
<AgeComponent/>
Adding inputs to svelte component
Input component in Svelte REPL
Most often you will need some inputs to the component which will determine how the component behaves. You can use the input to reuse your components across multiple places in your application. Let’s look at how Svelte helps here
You can create an input just by defining a variable and marking it as export in svelte
<script>
	export let age;
</script>

<h2>You age is {age}</h2>
The {} syntax lets Svelte know that it is a variable that needs to be replaced when it is displaying the text.
You can send this input from another component like the example below
<script>
	import AgeComponent from './AgeComponent.svelte';
</script>

<h1>Your name</h1>
<AgeComponent age={35} />
Svelte component input with default value
You can also define a default value if that is not passed from the other component. Here 20 is the default value.
<script>
	export let age = 20;
</script>

<h2>You age is {age}<h2>
Dynamic attributes in svelte
Dynamic attribute in Svelte REPL
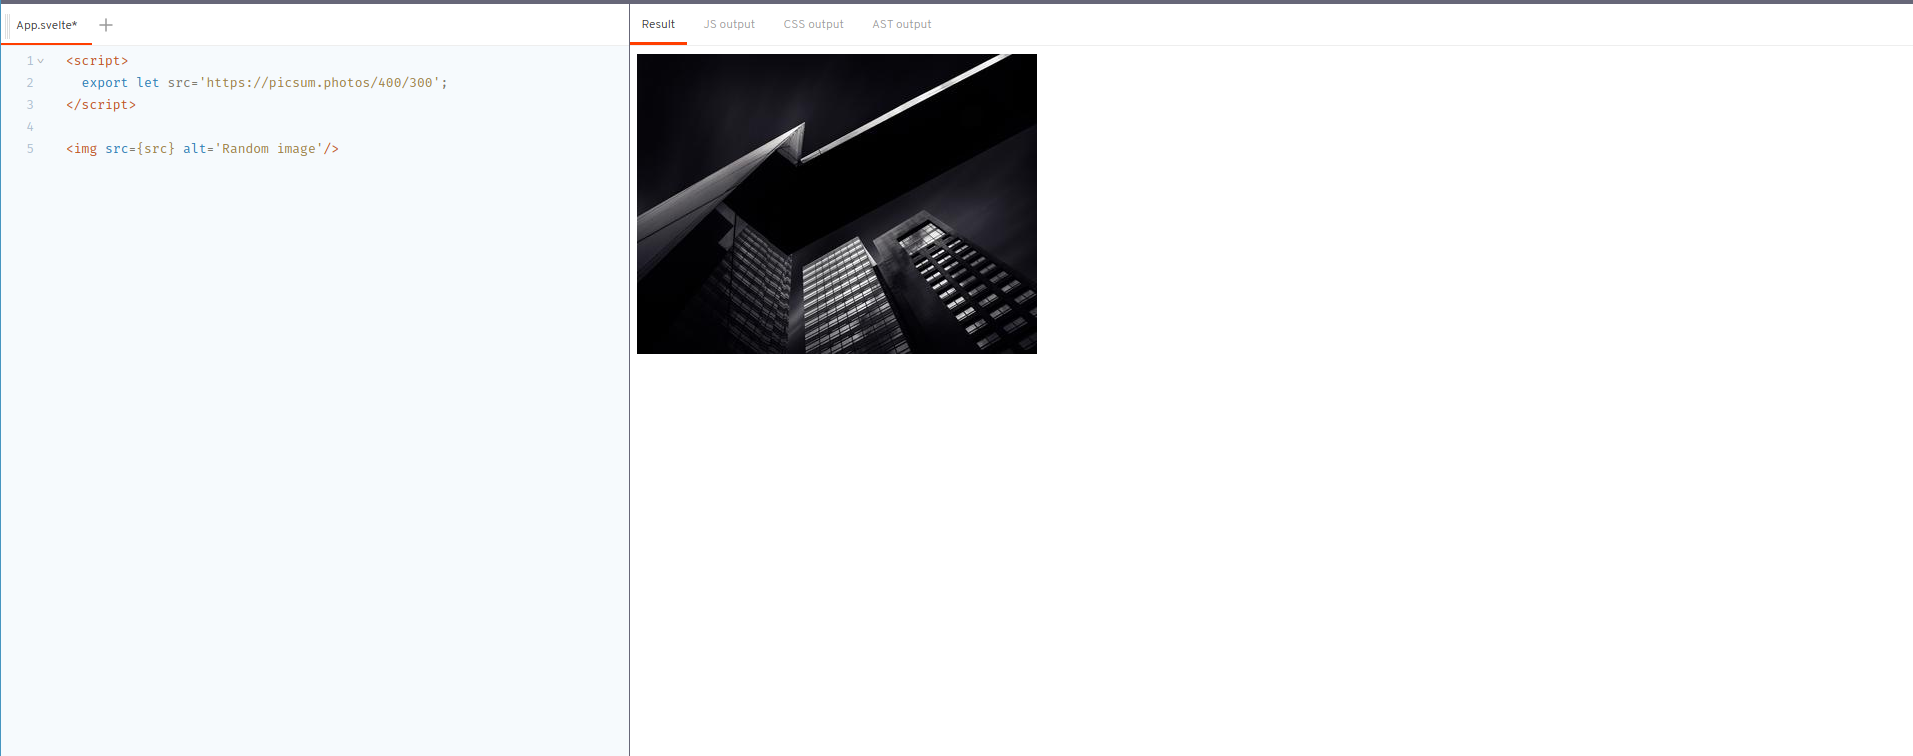
When working on the component, you want it to be as reusable as possible so that it is easy to share it in your project. So you can add some dynamic attribute to the HTML elements which takes the value from the input variable.
<script>
	export let src='https://picsum.photos/400/300';
</script>

<img src={src} alt='Random image'/>
You can use the input of the component and pass that value directly to the <img> element which will make this component reusable. You can do the same to the alt text as well.
Shortcut for dynamic attribute
If the name of the HTML attribute and the name of the variable is the same, Svelte offers a nice shortcut to do the same dynamic attribute linking
<script>
	export let src='https://picsum.photos/400/300';
</script>

<img {src} alt='Random image'/>
CSS styling
You can add CSS to your component by adding the styles in the <style> tag in .svelte files. You can create new CSS classes and add them to the HTML element in the same way you will do in a plain HTML file.
<style>
	.content {
		display: flex;
		justify-content: space-between;
		padding: 8px 32px;
	}

	#contactLink {
		color: green;
	}

</style>

<div class='content'>
	<h3>Company name</h3>
	<a id='contactLink' href='/contact'>Contact</a>
</div>- We are creating a new class called
contentand then adding styles for that class using.contentsyntax of CSS selectors - Create a new id called
contactLinkand then add styles for that id using#contactLinksyntax of CSS selector
For more information about CSS Selector - https://www.w3schools.com/css/css_selectors.asp

Local CSS scope and Global CSS Scope
Svelte makes the CSS scope local by default which means that if you have two components that contain the same class called content and you have added the styles in only one component, that component will be affected rather than affecting all the website which contains the class content.
If you are not sure why this is a big deal, it is because CSS is not scoped by default, So traditional apps that contain CSS needs to be very careful as to not override the CSS of some other file. Lots of frameworks depend on external packages or custom solutions to scope the CSS to the local but Svelte offers it by default
Local CSS scope in Svelte
This feature is achieved by converting the CSS classes at the build step to contain a unique id for each component. Then the CSS is also converted to add that generated class to just apply to that particular element in this component.
Your component →
<style>
	#contactLink {
		color: green;
	}
</style>

<a id='contactLink' href='/contact'>Contact</a>
Svelte generated component →
<style>
#contactLink.svelte-oulbuv{color:green}
</style>

<a id="contactLink" href="/contact" class="svelte-oulbuv">Contact</a>`;
Global CSS Scope in Svelte
Global CSS Scope in Svelte REPL
So now the question is how to add a CSS as a global scope. If you make the style with :global() syntax, Svelte will make the style global.
<style>
	:global(#contactLink) {
		color: green;
	}

</style>

<a id='contactLink' href='/contact'>Contact</a>
So inside your application, when you use the #contactLink id, it will be applied with this style.
That’s all for this introduction. We will meet again in the next article explaing more svetle concepts.
